AI & HPC Data Centers
Fault Tolerant Solutions
Integrated Memory

Years Experience
GPUs Deployed & Managed
Hours of GPU Runtime
Voltage Park relies on Penguin Solutions to get maximum GPU performance and cluster availability from their large-scale AI infrastructure to meet their compute-hungry customers’ demands.

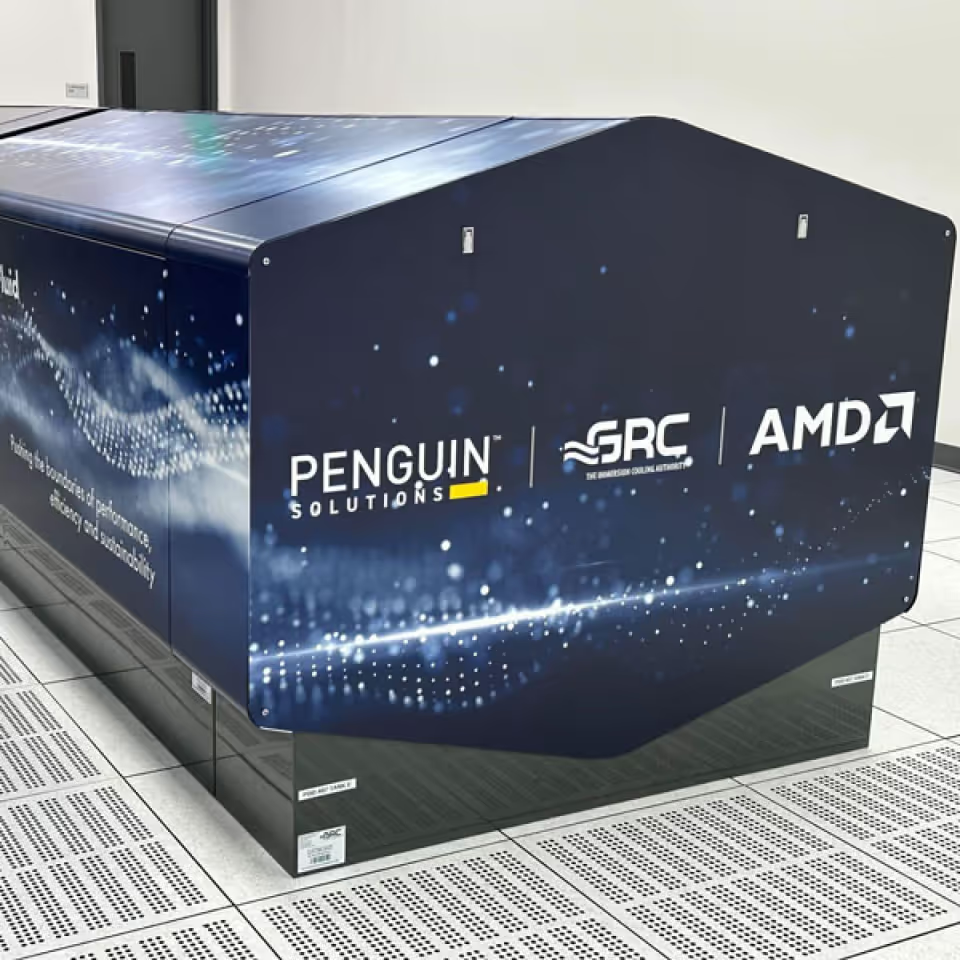
Shell powers its sustainable high-performance data centers with Penguin’s high-performance computing (HPC) solutions, including immersion cooling.

Penguin Solutions designed, built, and deployed the infrastructure to support the Georgia Tech AI Makerspace.

Penguin Solutions deploys NextSilicon accelerator technology as part of the Vanguard program at Sandia National Labs.


Penguin Solutions is dedicated to our customers’ success. With 25 years of HPC experience designing, building, deploying, and managing AI and accelerated computing clusters, we have enabled some of the world’s most sophisticated workloads.
Accelerate time to value by basing system architectures on a proven set of designs that have been validated at scale in numerous production deployments.

Achieve high rates of system stability with our in-factory experts who integrate and validate all components of the compute cluster including rack integration, network configuration, and burn-in testing.

Drive on-site installations with coordination of data center staff, data storage partners, and infrastructure cooling providers—and utilize ICE ClusterWare software to validate production readiness.

Assure production readiness and change management by working with a certified NVIDIA DGX Managed Services provider, the offers a full set of end-to-end services.


OriginAI® is an AI factory infrastructure solution built on proven, pre-defined AI architectures that can scale from hundreds to over 16,000 GPU clusters.
OriginAI integrates these validated technologies with Penguin’s intelligent, intuitive cluster management software and expert services for designing, building, deploying, and managing AI infrastructure at scale.

Simplify the deployment and management of AI clusters to realize greater productivity at speed.
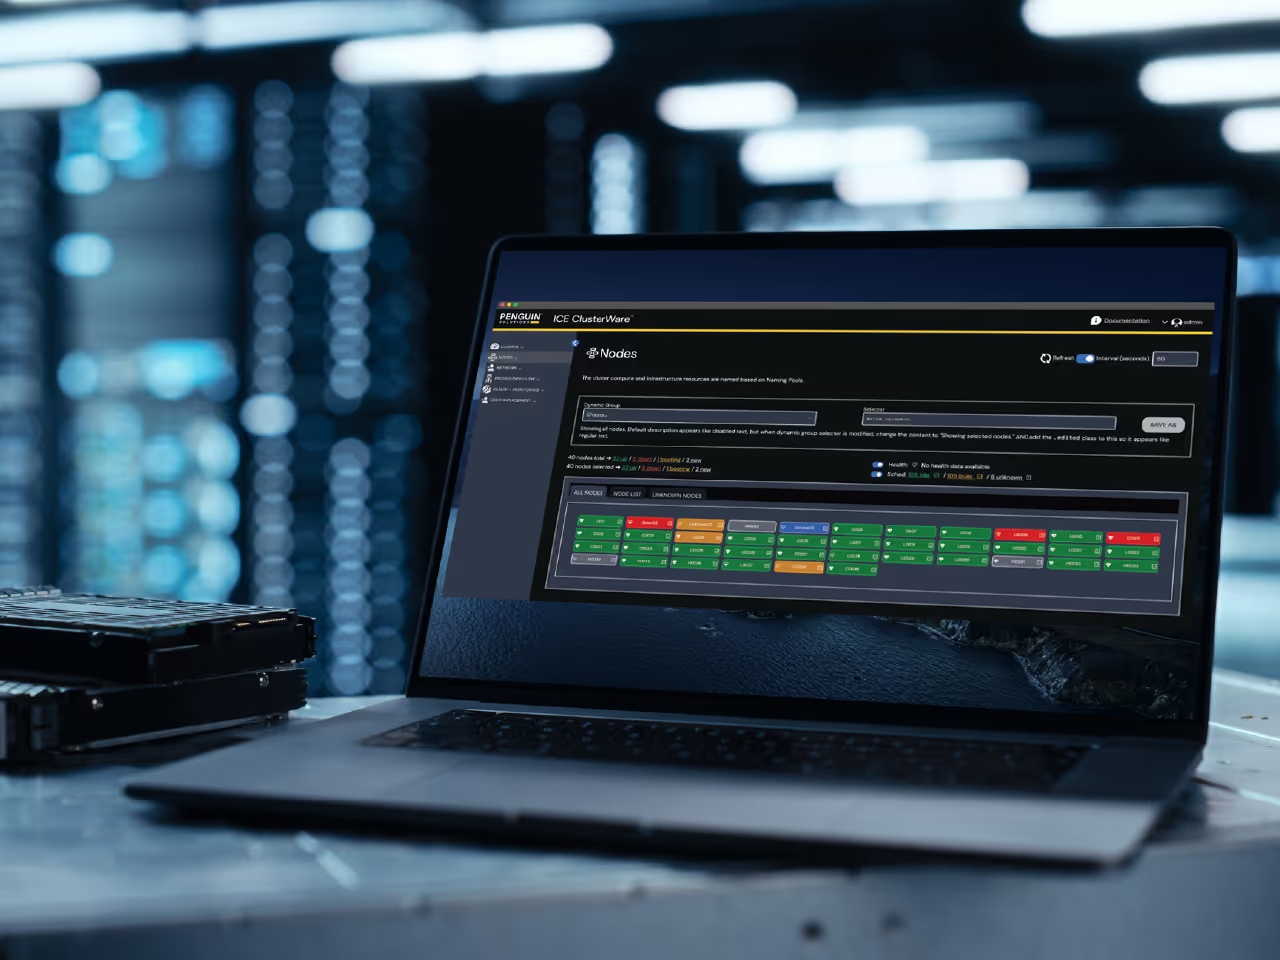
With ICE ClusterWare™, bare-metal hardware, network, and software resources are transformed into high-performance cluster environments, reducing administration complexity and optimizing resource availability.

Penguin Solutions has designed and deployed large NVIDIA DGX clusters with high-speed NVIDIA InfiniBand networking and optimized storage.
We have deep expertise and relationships with most storage vendors which allows us to provide bespoke solutions for every customer.

Stratus ztC Endurance™ is an innovative family of computing platforms that enables intelligent, predictive fault tolerance and 99.99999% compute platform availability.
The platform combines built-in fault tolerance, proactive health monitoring, and serviceability by OT or IT, all while meeting your cybersecurity requirements.

Stratus ztC Edge™ is a secure, rugged, highly automated computing platform that improves productivity, increases operational efficiency, and reduces downtime risk at the edge of corporate networks.
Its self-protecting and self-monitoring features drastically reduce unplanned downtime and ensure continuous availability of business-critical applications.

Stratus everRun® is a software solution that pairs two servers via virtualization to create protected and replicated virtual machines (VMs) within a single operating environment, ensuring your applications run without interruption or data loss.
Stratus everRun accelerates time to revenue by transforming your applications into continuously available solutions with customized availability.

Compute Express Link (CXL) enables data centers, cloud services, and HPC providers to expand memory for intensive computing easily and cost-effectively.

Ideal for data centers, hyperscalers, and HPC platforms running large memory applications that require maximum compute availability.

Designed to meet the stringent demands placed on storage systems in hyperscaler, hyper-converged, enterprise, and edge data centers.
Whether you’re struggling with AI solution design, build, deployment, or management—in your data center or in the cloud—Penguin Solutions can help.
Partner with Penguin Solutions and get on track to your improve AI advantage.